Table of Contents
All the ins and outs of how to make and sell an NFT and possibly earn money for your art
Many artists and designers are currently pondering how to create and sell NFTs in light of the amazing amounts that some NFT art has garnered at auction. Non-fungible tokens are the newest trend to hit the art market and they’ve made a significant splash, with Christie’s even organizing NFT art auctions worth millions of dollars.
Although opinions differ on whether crypto-art is a fleeting fad or a long-term trend, you might be wondering if it’s time to pay attention and learn how to manufacture and sell an NFT of your own work. You’ve come to the proper location if that’s the case. This post will take you through a step-by-step process of creating an NFT of your original artwork and selling it at an online auction.
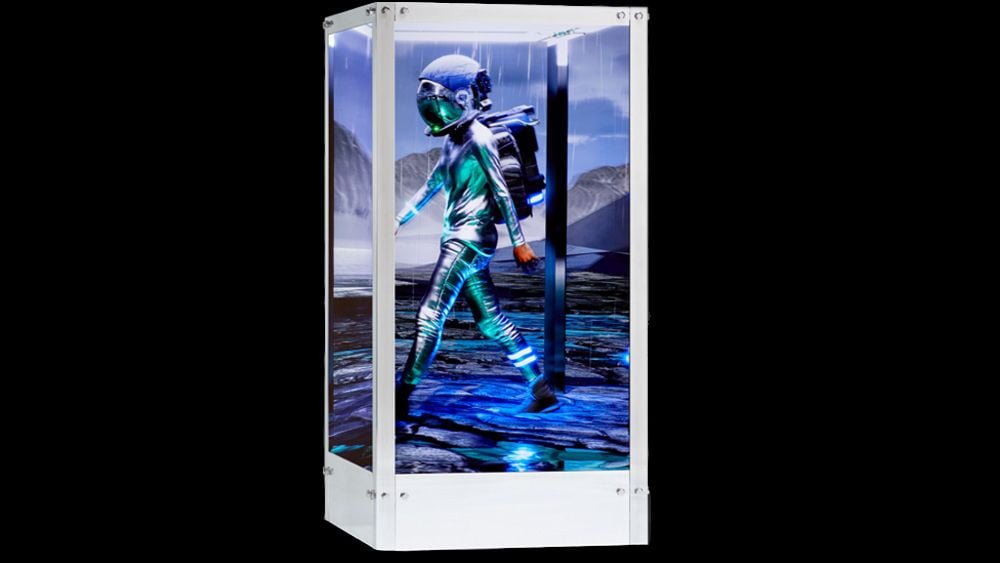
But first and foremost, let’s do a reality check! Yes, some NFT artwork has sold at astronomically high sums. After selling for $69 million at Christie’s in March 2021, Beeple’s Everyday: The First 5000 Days, still retains the record, and Beeple’s art continues to sell for astounding sums. Human One (shown above), a hybrid evolving digital/physical kinetic video, sold for $29 million in November. More than a dozen NFTs have sold for more than $1 million, and dozens more have sold for hundreds of thousands of dollars.
The prices paid by Beeple or valuable NFTs like those in the Bored Ape Yacht Club and CryptoPunks collections, on the other hand, are rather uncommon. Furthermore, the fact is that there are a variety of expenses associated with generating, maintaining, and selling an NFT. Depending on how much you sell your NFT for, it might eat up a significant percentage of the revenue or possibly leave you out of pocket. We recommend reading our explainer on what NFTs are before diving in, but if you’re ready to try your luck, sit back and keep reading.
How to make and sell an NFT
The first step in creating an NFT is to select an NFT platform on which to develop and sell your NFT, as well as a payment wallet to pay fees – and receive cash if your NFT is successful in being sold.
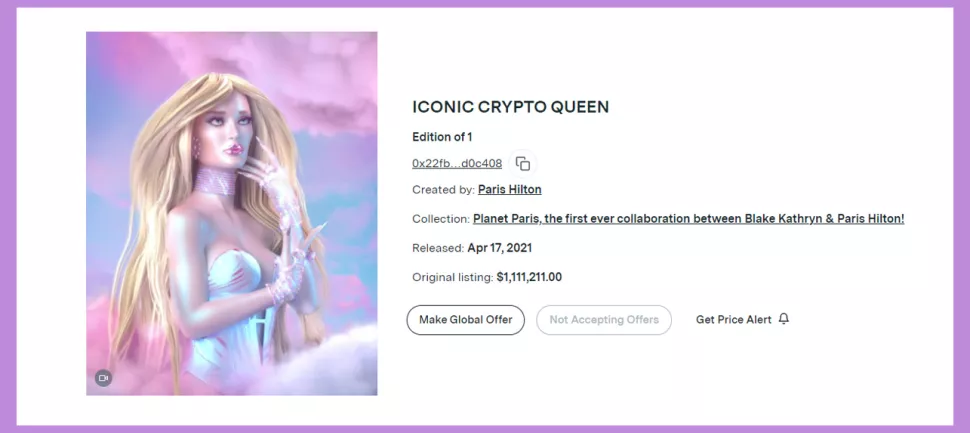
There are a variety of internet sites where you may create and sell NFTs. OpenSea, Rarible, SuperRare, Nifty Gateway (where Paris Hilton auctioned her strange Crypto Queen NFT, depicted above), Foundation, VIV3, BakerySwap, Axie Marketplace, and NFT ShowRoom are all popular NFT auction sites. Coinbase, MetaMask, Torus, Portis, WalletConnect, MyEtherWallet, and Fortmatic are just a few of the major NFT payment systems.
In this article, we’ll show you how to make and sell an NFT using the NFT platform Rarible and the bitcoin payment platform MetaMask, just for demonstration reasons. Please note that this, in no way, implies that one of these services is the best option. You might use any of the platforms listed above as well as many more. The procedure will be identical in most cases, although we recommend double-checking the costs you’ll be charged (more on that later).
01. Buy some cryptocurrency
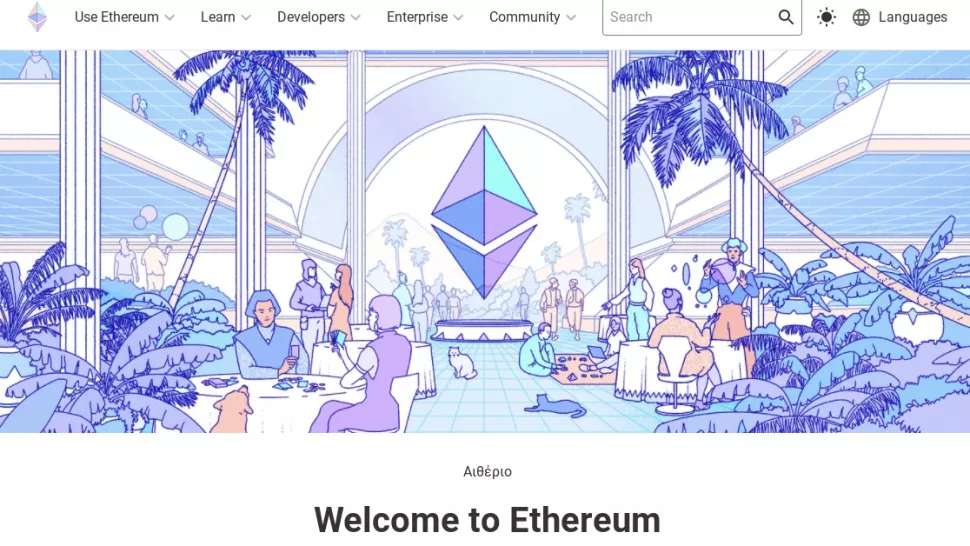
The first thing to keep in mind is that all of the above-mentioned NFT auction sites will need payment in advance to ‘mint’ your NFT, converting your artwork into a non-fungible token that you can subsequently sell. In most cases, they want payment in cryptocurrency, so you’ll need to purchase some to cover the expenses before you can earn any. The majority of platforms collect fees in Ether (abbreviated as ETH), the native cryptocurrency of Ethereum, the open-source blockchain platform where NFTs initially debuted.
If you already have any ETH, make sure it’s in a digital wallet, which you’ll need to link to your preferred NFT platform in order to send (and receive) payments. If you need to acquire any, there are a number of cryptocurrency exchanges where you may do so, but the quickest and easiest way is to buy ETH straight using your preferred digital wallet.
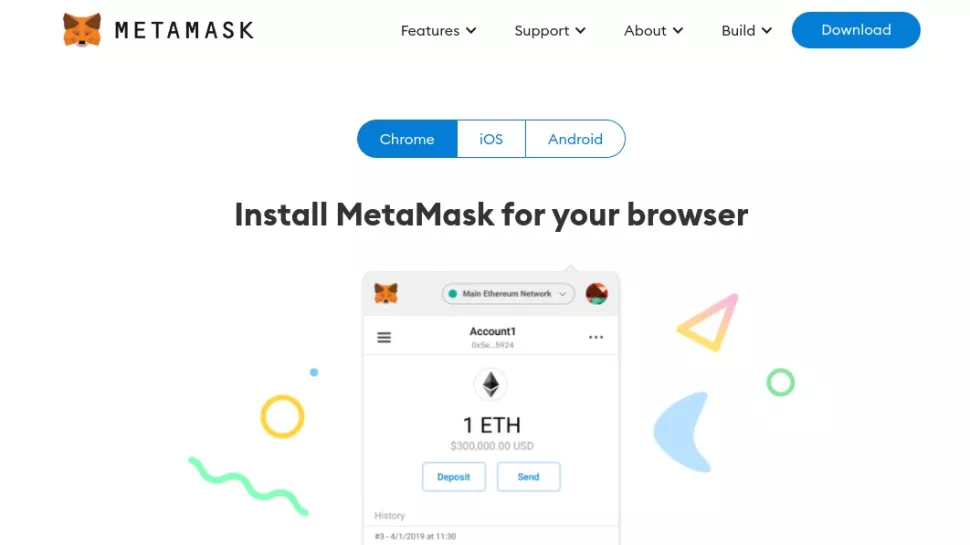
As previously said, there are several solutions for this, but we’ll utilize MetaMask, which is available as a browser extension and a mobile app, to demonstrate the procedure. If you’d prefer to use another provider or if you’re already familiar with digital wallets and have one, skip to step 4. Otherwise, we’ll walk you through setting up your wallet and purchasing ETH in the following step.
02. Create a digital wallet to pay for your NFT
To use MetaMask to build a digital wallet, go to its website and click the blue ‘Download’ icon in the top-right corner. We’ll install the browser extension because we’re using a desktop computer, but there’s also a mobile app.
You’ll be prompted to confirm you want to ‘create a new wallet and seed phrase’. Don’t get too worked up over what a ‘seed phrase’ is (it’s just a list of words that saves blockchain data). If you say yes, all you have to do now is agree to the conditions, create a password, and go through certain security precautions to have your account set up.
03. Add some cryptocurrency to your wallet
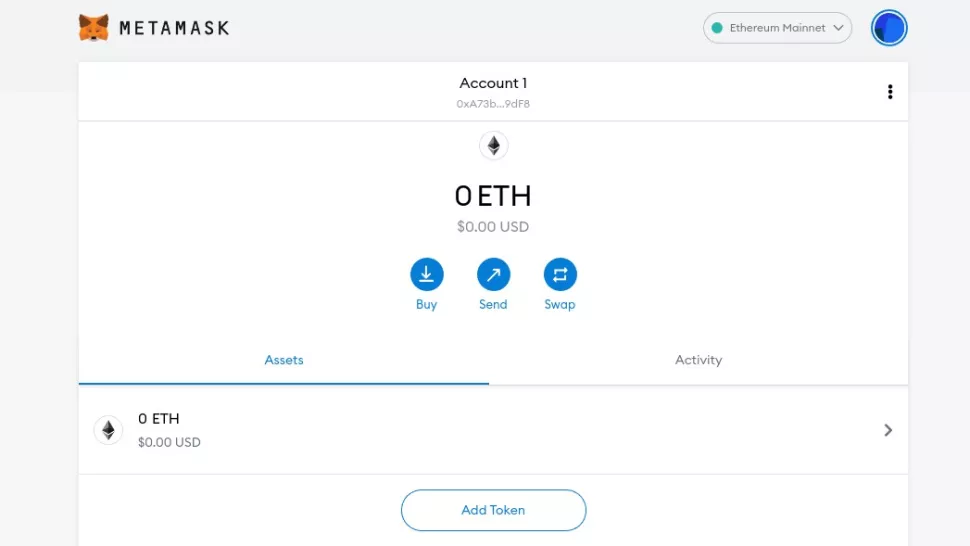
After you’ve created your MetaMask wallet (or any other digital wallet), you’ll need to fund it with ETH. If you don’t have any ETH, you’ll need to buy some right now, so click the ‘Buy’ button and choose ‘Buy ETH with Wyre’. You’ll be sent to a screen where you may purchase ETH using Apple Pay or a debit card. You may skip this step if you don’t want to spend any money just yet; it will, however, take a relatively longer time to set your wallet up at a later time (you’ll need to check your selected NFT platform’s costs to figure out how much you’ll need to buy).
Although the vocabulary used in the cryptocurrency realm might be intimidating, purchasing crypto is actually pretty simple. Just keep in mind that, like bitcoin and many other cryptocurrencies, Ether’s value can vary dramatically. With several peaks and troughs along the road, the price of 1 ETH has gone from under $1,000 to about $4,700 at the time of writing in 2021. It’s very conceivable for the currency’s value to fluctuate by hundreds of dollars in only a few hours.
04. Connect your wallet to an NFT platform
The majority of digital wallets function in the same way. You’ll need to link it to the NFT platform you’ll be using to establish your NFT, whichever one you choose. We’re going to use Rarible as an example, but there are plenty of other NFT platforms to select from, and the procedure will be identical.
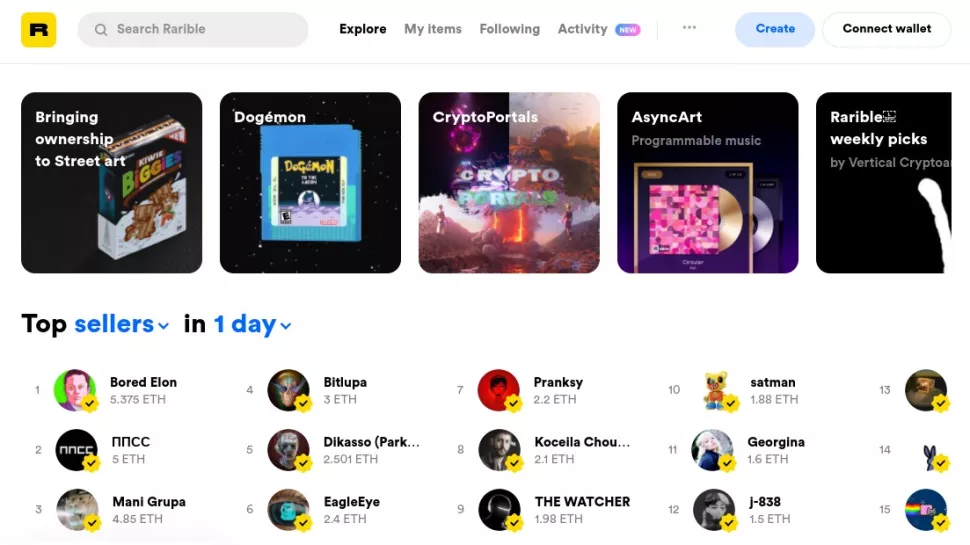
Rarible.com (shown above) is a great place to start . A button labelled ‘Connect wallet’ may be seen in the right-hand corner of the screen. Click there, and you’ll be prompted for your wallet provider, which in our instance is MetaMask, on the following screen. You’ll be given the opportunity to connect your wallet to Rarible via a popup. Accept the terms of service and confirm you’re over the age of 13, if you are, by clicking ‘Next’, then ‘Connect.’
05. Upload the file you want to turn into an NFT
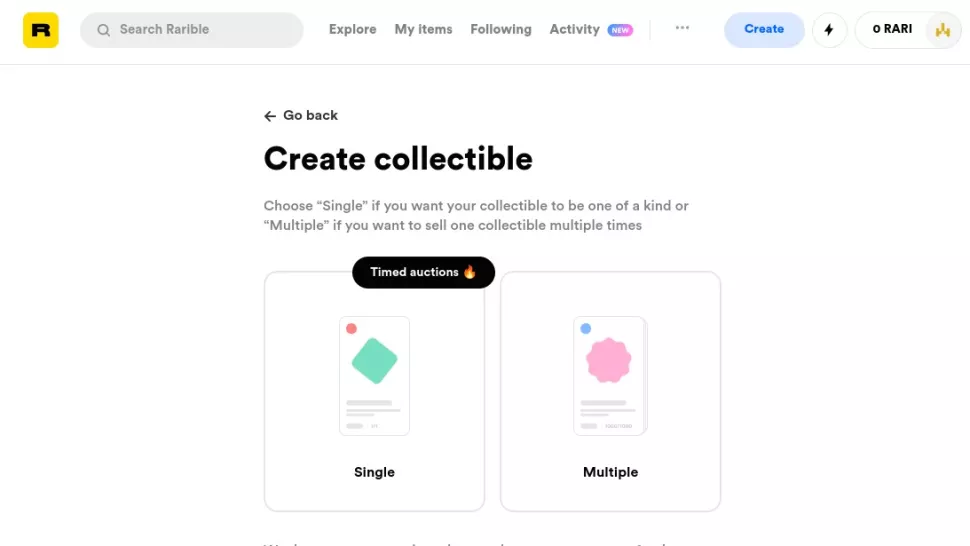
So now that you have an ETH wallet linked to your work, you’re ready to construct its NFT. Click the blue ‘Create’ button in the top right corner of the Rarible site. After that, you’ll be offered the choice of creating a single, one-of-a-kind piece or selling the same thing several times. In this case, we’ll go with ‘Single.’ Now you must submit the digital file that will be converted to an NFT. Rarible accpets sizes of up to 30MB in PNG, GIF, WEBP, MP4, and MP3 format.
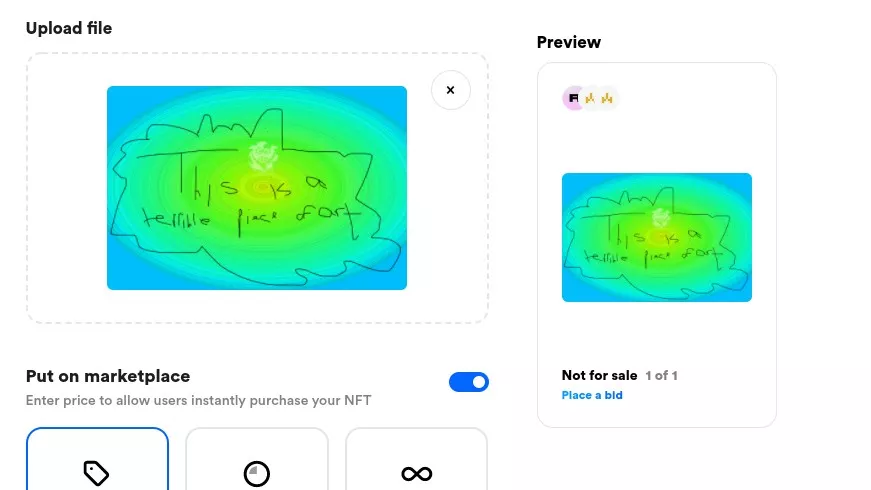
To demonstrate, we’ve made a comically bad work of art based on David Hockney’s infamous London Underground painting. After you’ve uploaded your, hopefully much better, digital file, you’ll see a sample of what your NFT post will look like on the right.
06. Set up an auction for your NFT

You’ll need to decide how to sell your NFT artwork in the following section of the form. There are three possibilities. ‘Fixed Price’ lets you select a price and sell your NFT right away, similar to eBay’s ‘Buy it now’ option. People can make bids until you accept one if you use the ‘Unlimited Auction’ option. Finally, a ‘Timed Auction’ is an auction that takes place over a specific period of time. As an example, we’ll go with that choice.
This brings us to the most difficult part; deciding on a minimum price or as termed, ‘reserve price’. If you sell your NFT too cheap, the huge costs will eat up all of your earnings, leaving you out of cash. We’ll set the price at 1 ETH (currently $4,700 USD) and offer individuals seven days to submit bids.
After that, you’ll be given the choice to ‘Unlock once purchased.’ This allows you to deliver a full, high-resolution version of your art and/or supplementary content to your final customer via a secret web page or download link. The option below that, labeled ‘Choose Collection,’ is the most perplexing. This is a highly technical issue concerning the blockchain’s configuration. The default setting is ‘Rarible,’ and we recommend keeping it that way.
07. Add a description to sell your NFT
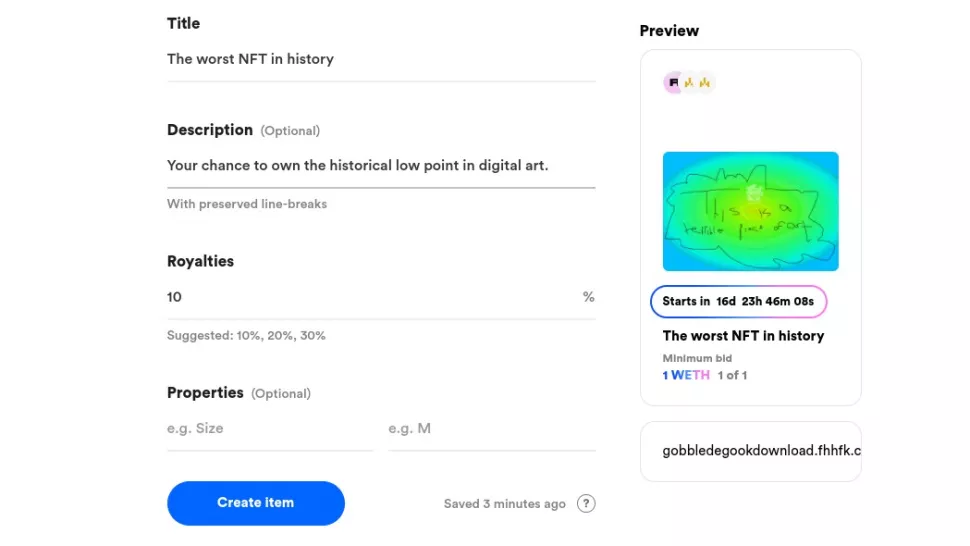
You may now give your listing a title and a description. Take some time to consider this if you want your NFT to sell as quickly as possible. After that, you’ll be asked to consider what proportion of royalties you want to claim on any future sales of your artwork.
Again, this is a balancing act: a greater percentage will net you more money per sale in the long run, but it will also discourage people from reselling your art in the first place since they will be less likely to benefit. Finally, there’s an optional box where you may put the characteristics of your file. You’re virtually done now that you’ve finished that.
08. Pay the listing fee to sell your NFT (but be warned!)
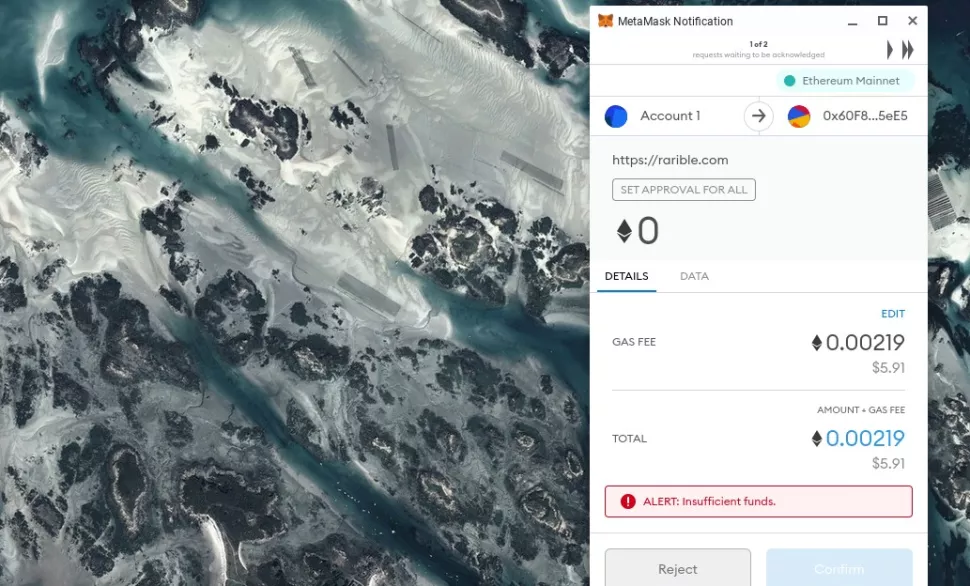
When you click ‘Create Item,’ you’ll be prompted to link your wallet to pay the listing cost. Don’t worry if you don’t have enough money in your wallet: you won’t have to start again. Simply click the wallet symbol in the top-right corner of the screen to add funds straight to Rarible.
Just a final word of caution before you do so! The listing charge may appear to be low: in our case, it was only $5.91 in US dollars, but keep in mind, this is only the beginning. Before you can move any further, you must agree to pay an additional cost to construct your NFT, which in our instance would have been $42.99 in ETH. If someone buys your NFT, you’ll have to pay a commission on the sale as well as a transaction fee for the money to be sent from the buyer’s wallet to yours. None of this was very obvious on Rarible’s website at the time we tested it, in our opinion.
We’d love to be able to explain how to calculate the potential cost of creating and selling an NFT in a clear and straightforward manner, but the perplexing nature of blockchain technology, the wild fluctuations in cryptocurrency values, and the lack of transparency on the platforms themselves make this impossible. You’re left with little choice except to take a chance and wait to see how much you’ll be charged overall if you make a sale, and hope that you’ll still earn a profit.
If you do decide to take a chance and invest some money in developing NFT art, we wish you the best of luck. We’d love to hear how you get on at @stiviniii on Twitter or Instagram.


Add your first comment to this post